For the past several years, basically all snowmobile manufacturers have provided “adjustable ski stances” on their mountain sleds. However, the term “adjustable” meant you had to take the ski off, slide a bushing from one side to the other and put the ski back on.
That’s not a big deal in the shop. But it’s something that rarely if ever happened on the slope. So in other words, once you set the ski stance to your preference, it seldom changed.
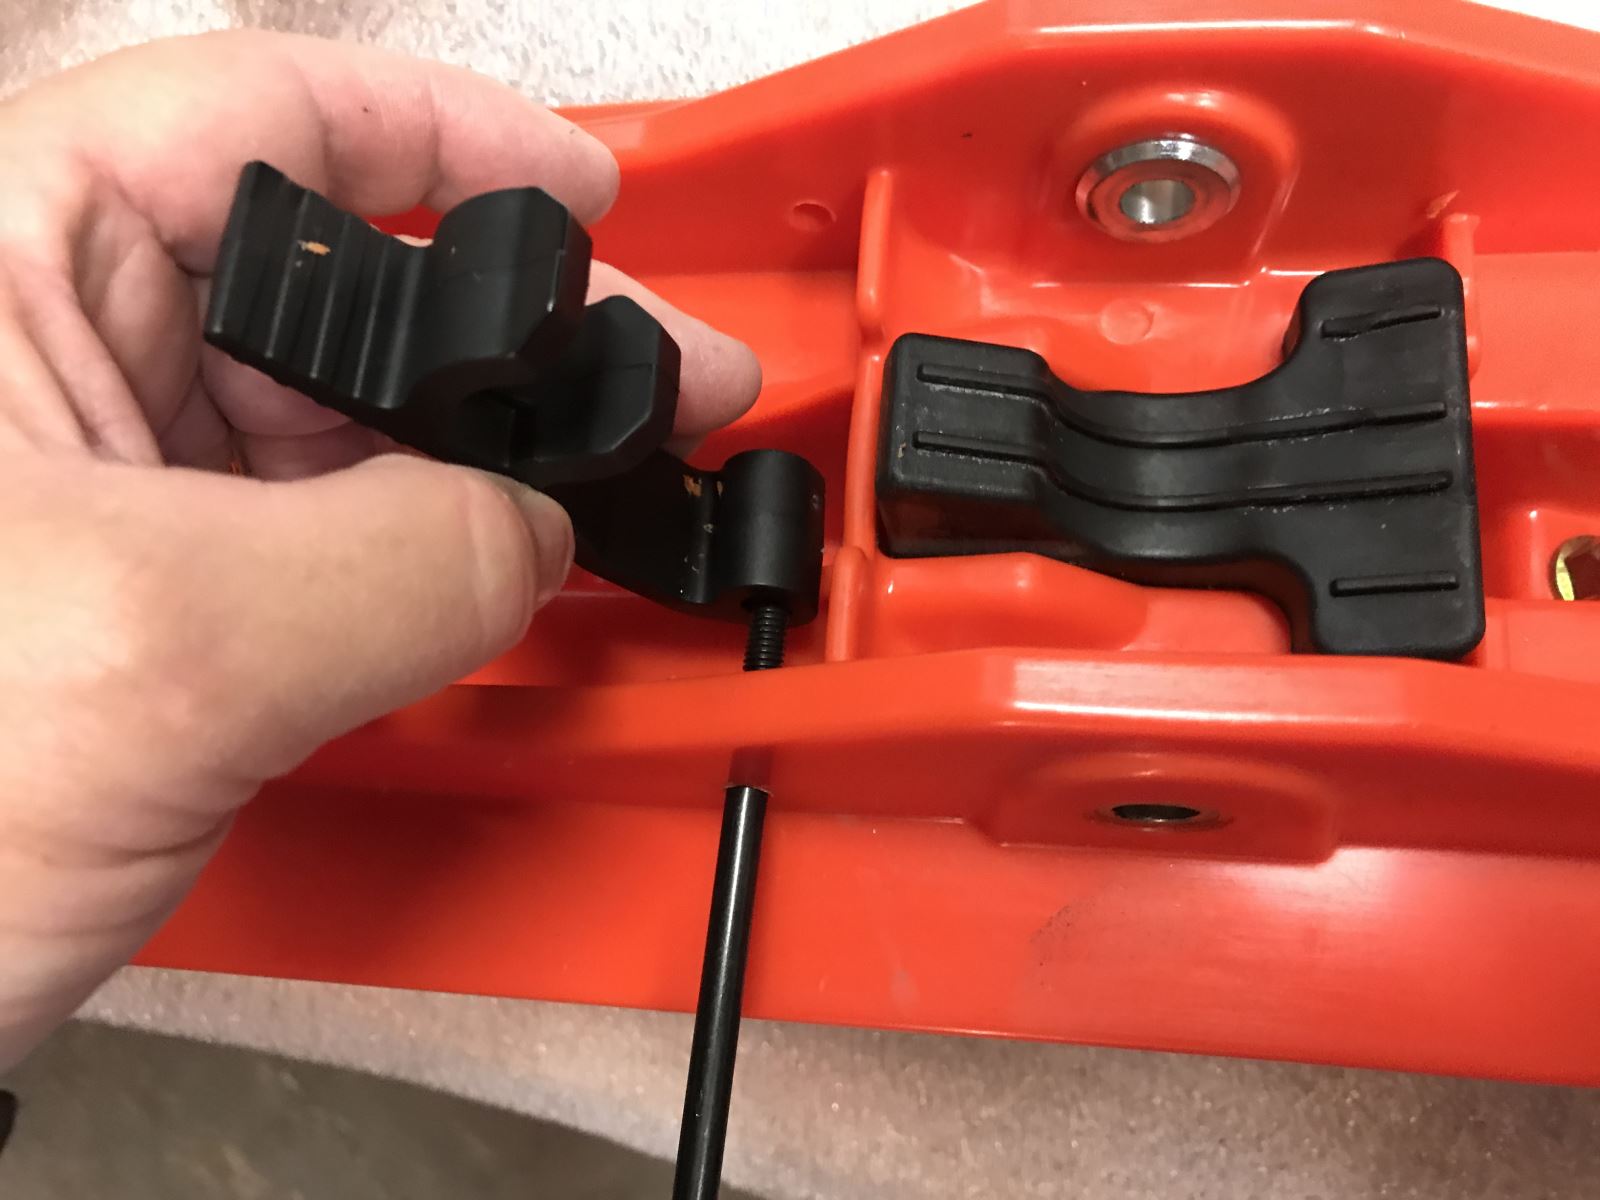
Ski-Doo created a simple product that replaced the bushing with a latch. Now you don’t need to remove the ski, but rather unlatch the latch from one side of the ski, kick the ski over from the opposite side and reattach the latch.
Installation of the latch is the only time you need to remove the ski. Once it’s installed, the ski can float from one side to the other in mere seconds.
Installation Process
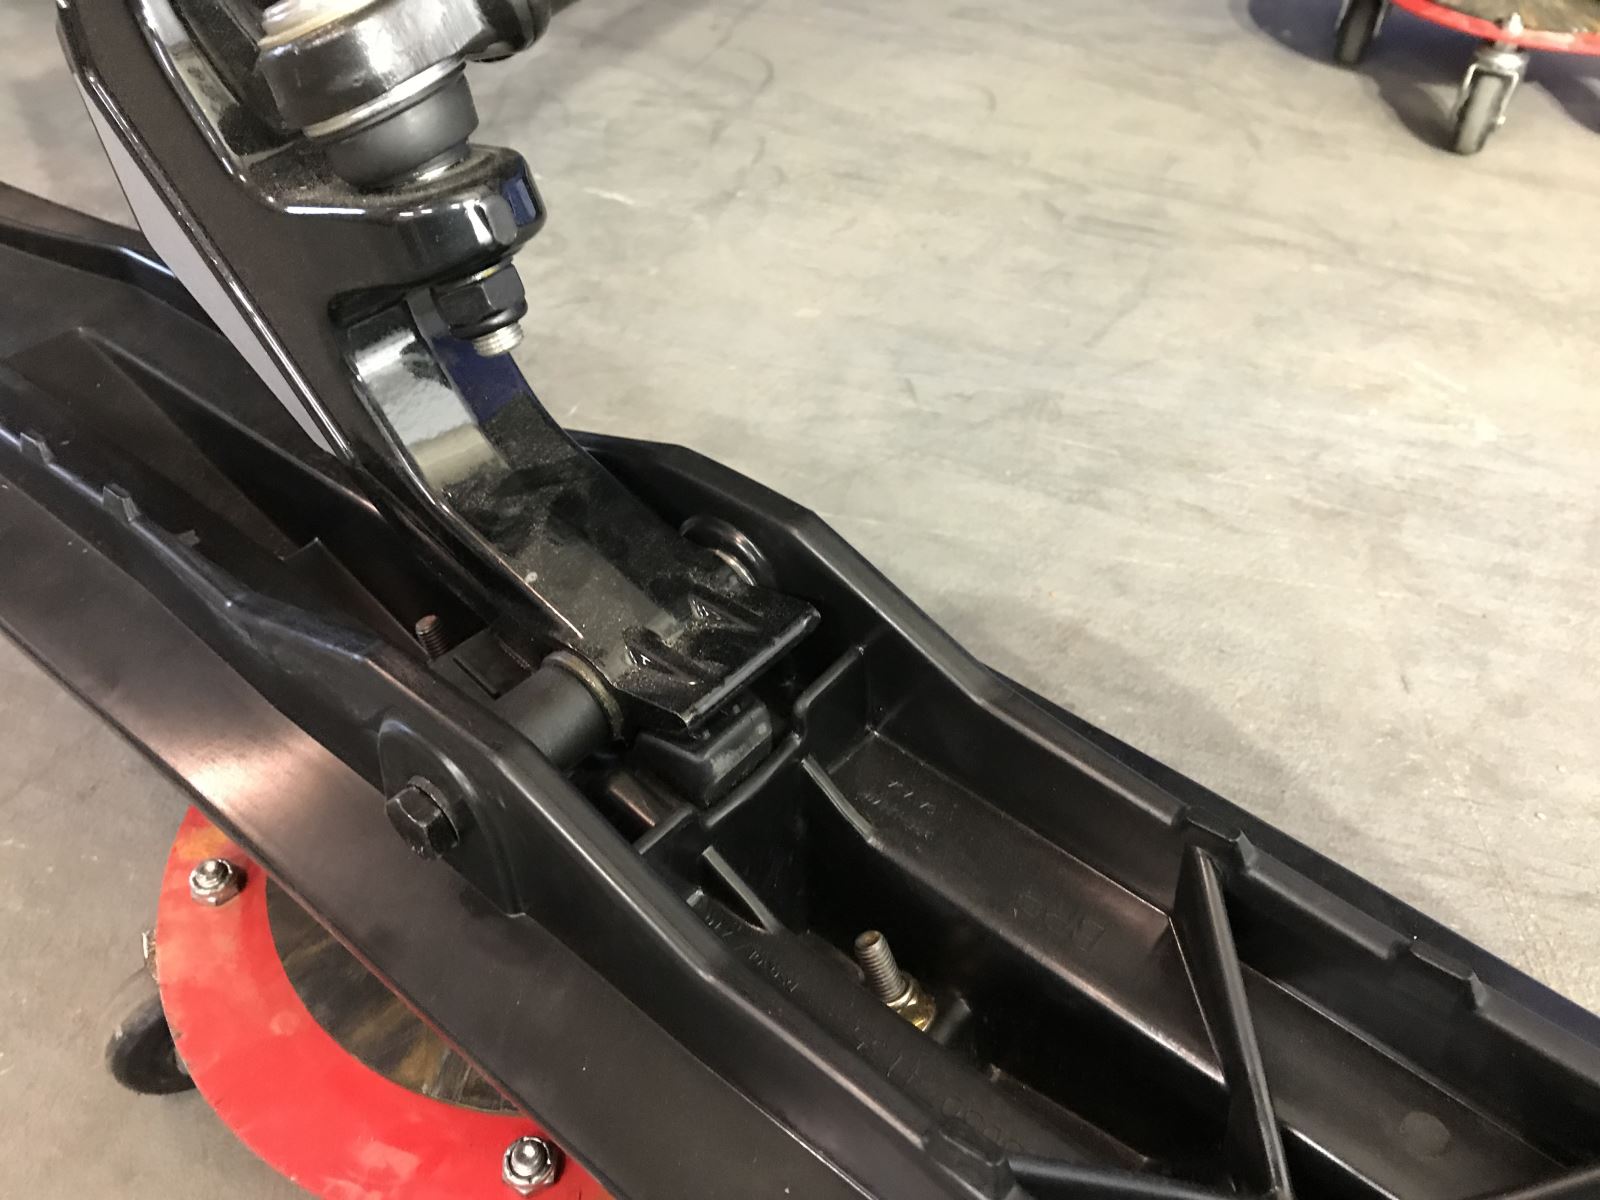
1. Remove the ski.
2. Remove the bushing.
3. Place template on ski (positioned by using the ski bolt).
4. Drill a quarter-inch hole according to the template.
5. Insert bolt that holds latch in position.
6. Re-install the ski.
7. Secure latch to whatever stance desired.