During the past few seasons, the editors of SnoWest Magazine have had mixed opinions on Ski-Doo’s tunnel bags. The hard-shell bags were easy to install but had a tendency to be a little bulky. The soft-shell bags were a little more cumbersome to install and got wet during the rides. But they had a much better profile on the sled.
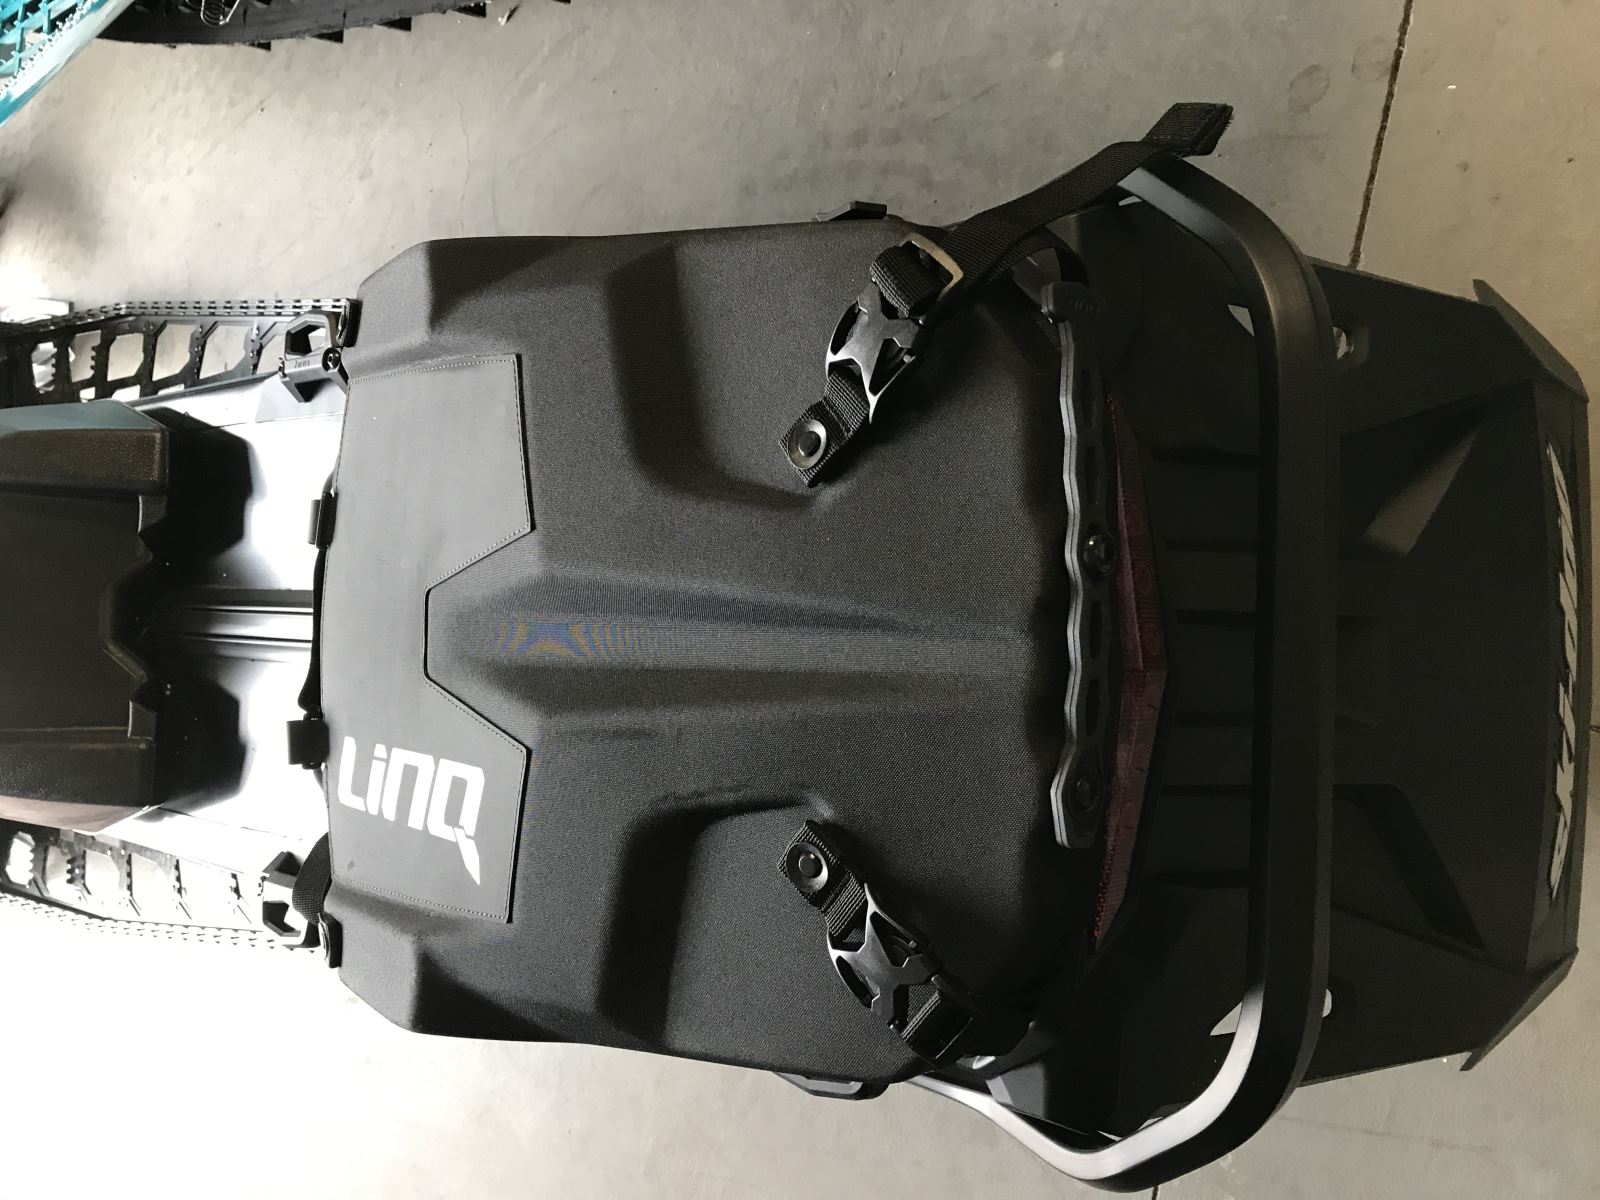
Ski-Doo has solved the problems associated with both bags while capturing the best qualities of each bag with its new LinQ Slim Waterproof Tunnel Bag. This bag has an expandable hard shell with a low profile, making it easy to install and very functional. Inside the hard shell is a waterproof liner to keep your contents dry.
It is designed to allow you to attach the removable snow flap (when not in use), as well as a shovel.
Ski-Doo really makes it simple to install any of the LinQ accessories. Everything is either pre-drilled or stamp-marked so you know exactly where to drill … although the Ski-Doo online instructions always encourage you to check the marks before drilling to make certain nothing is out of place.
Installation of the LinQ cargo attachment system (brackets which secure the bags to the tunnel) is very simple. Most holes are pre-drilled but covered with a decal. It’s just a matter of punching the hole through the decal and inserting the mounting hardware. With the Slim Waterproof Tunnel Bag, there were four additional holes that required drilling with a 10 mm (13/32-inch) drill bit. We like to pre-drill this hole with a drill bit a little less than half the size to allow the larger drill bit to work more efficiently.
Once the hardware is installed, then you can attach or remove your tunnel bag in seconds. This is nice if you like taking your bag inside after the end of a ride so the contents don’t freeze.
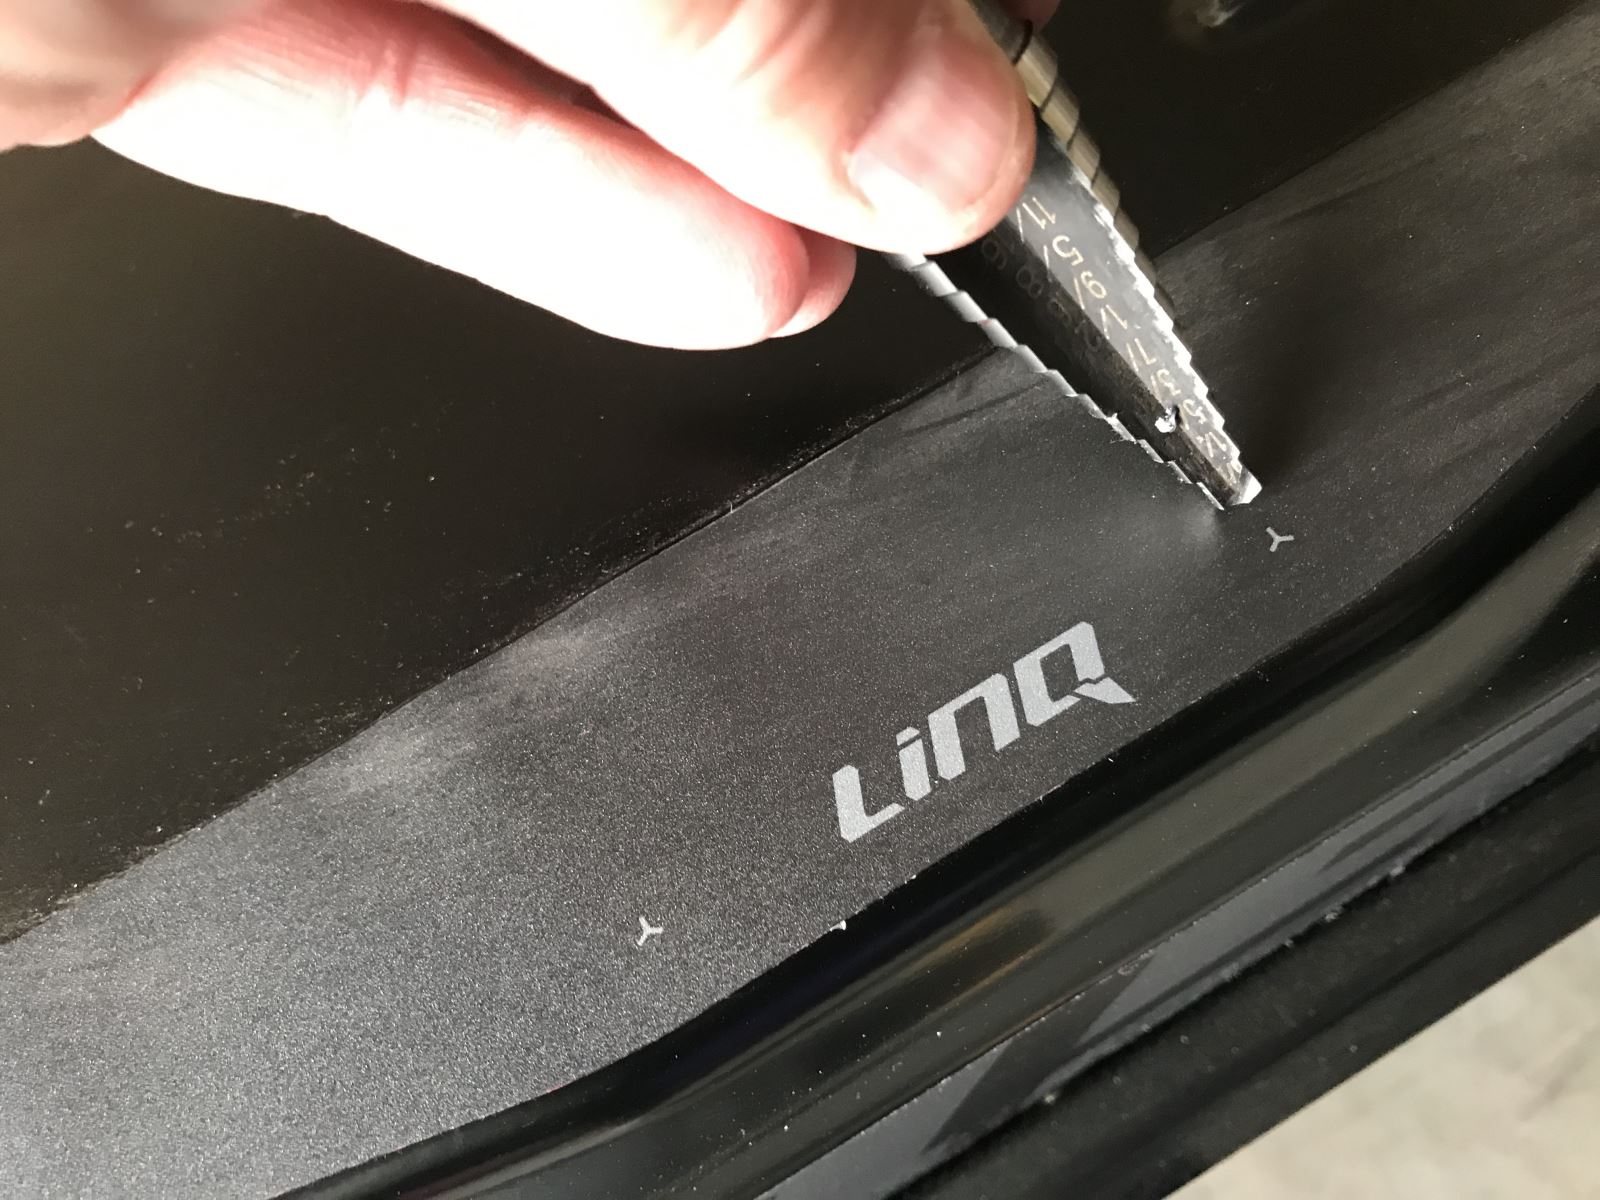
We like to use a drill cone to create the hole in the decal.
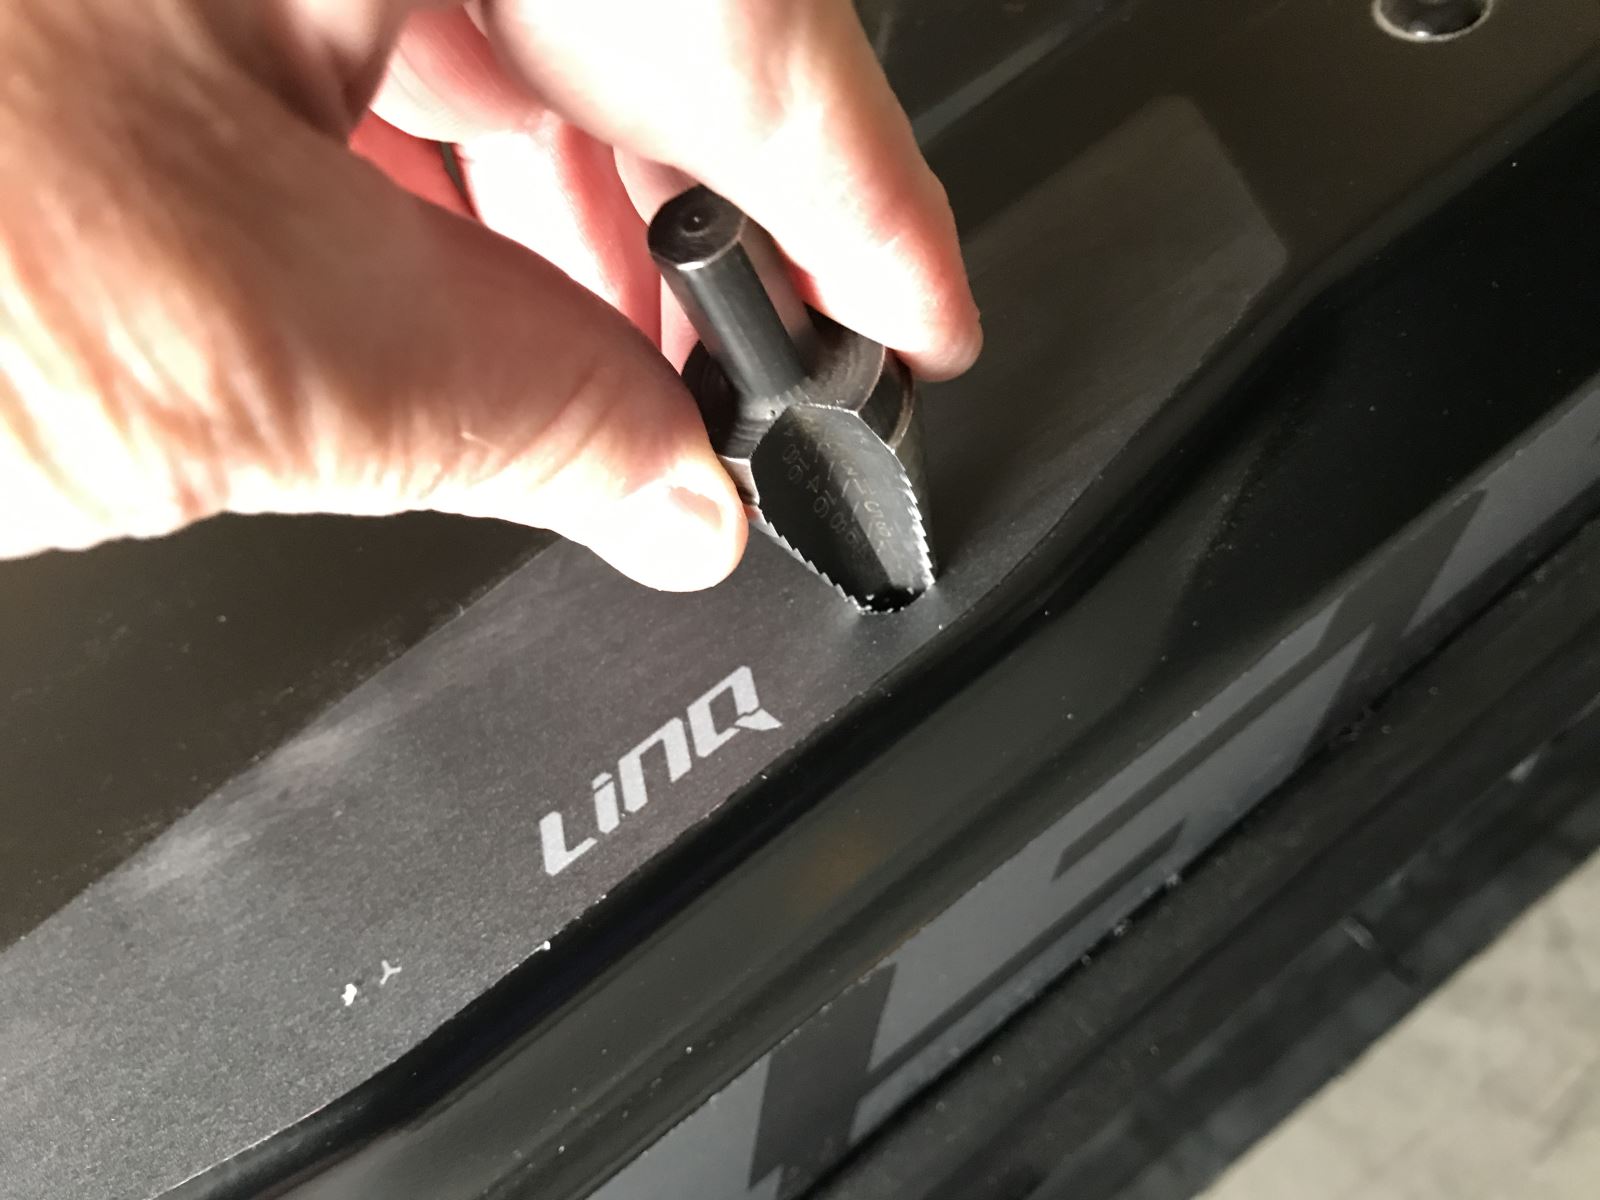
Simply push in the drill cone and twist it to cut out the decal to the size of the pre-drilled hole in the tunnel.
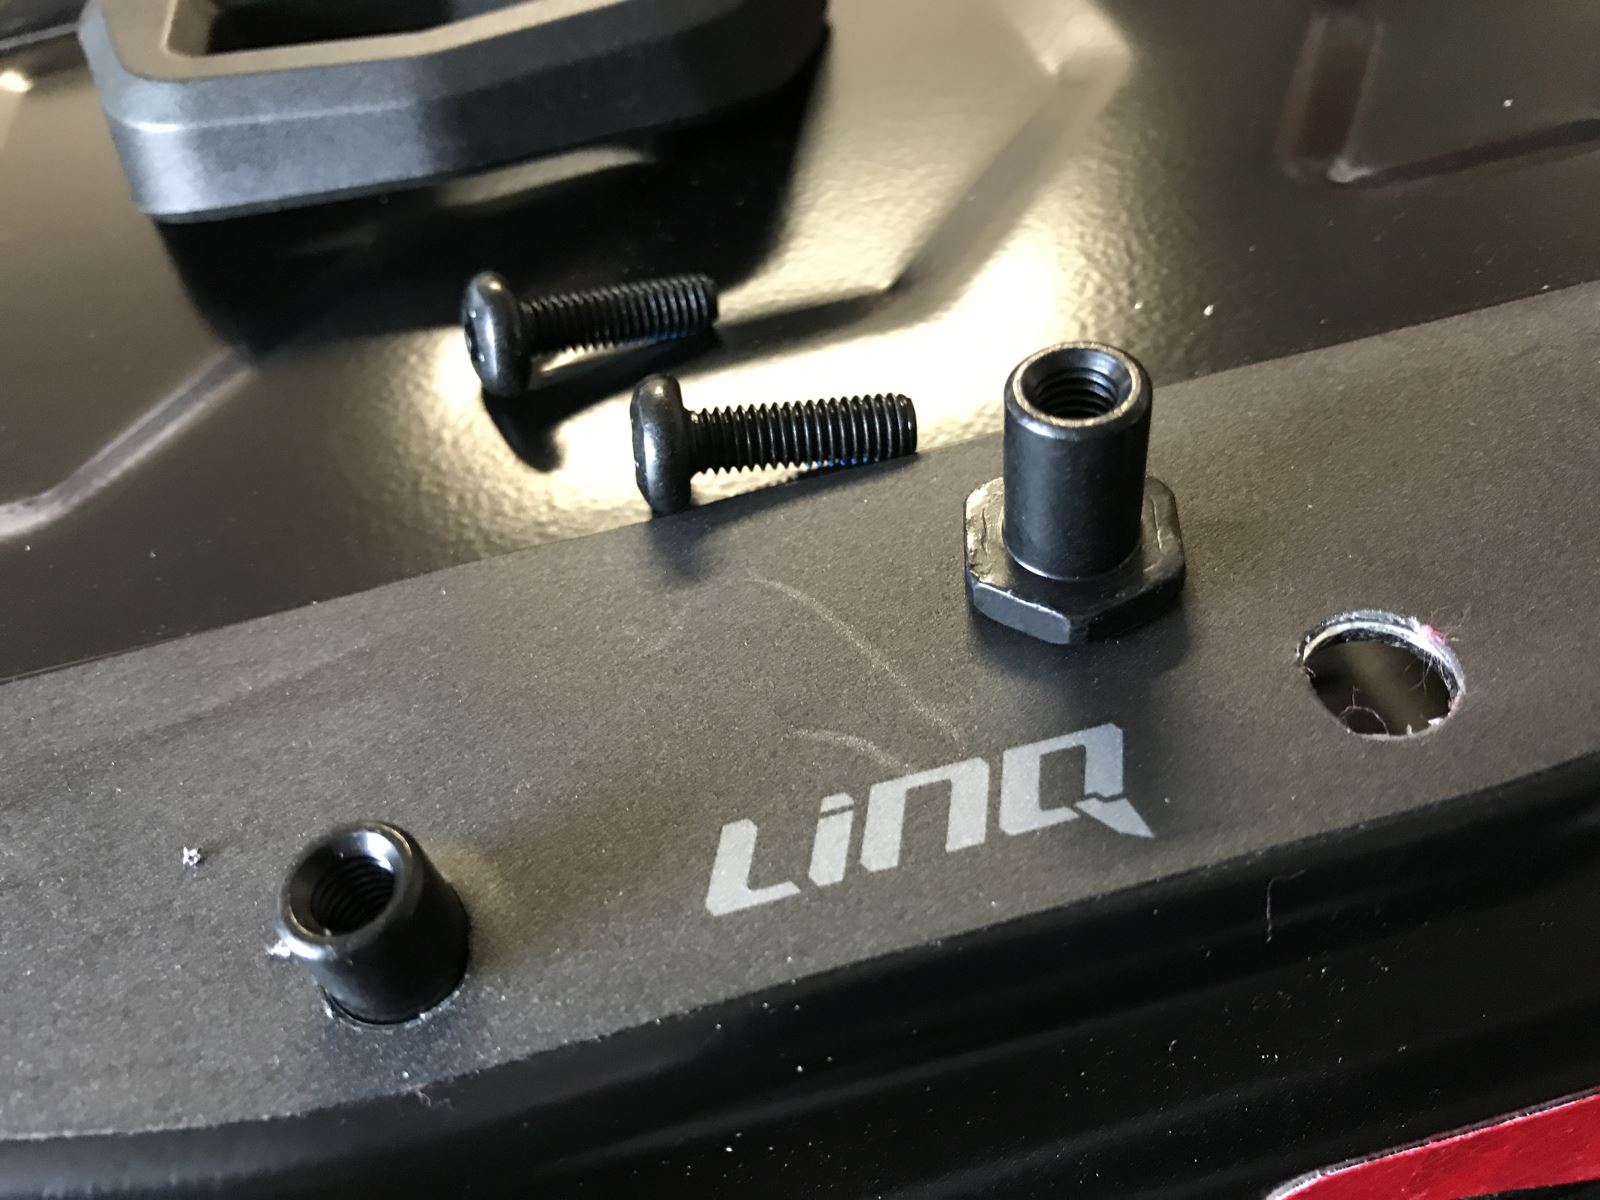
Insert your nut pins from the bottom side of the tunnel. Sometimes they are snug enough to stay in place. If not you will need to hold them in place until you get your screws started.
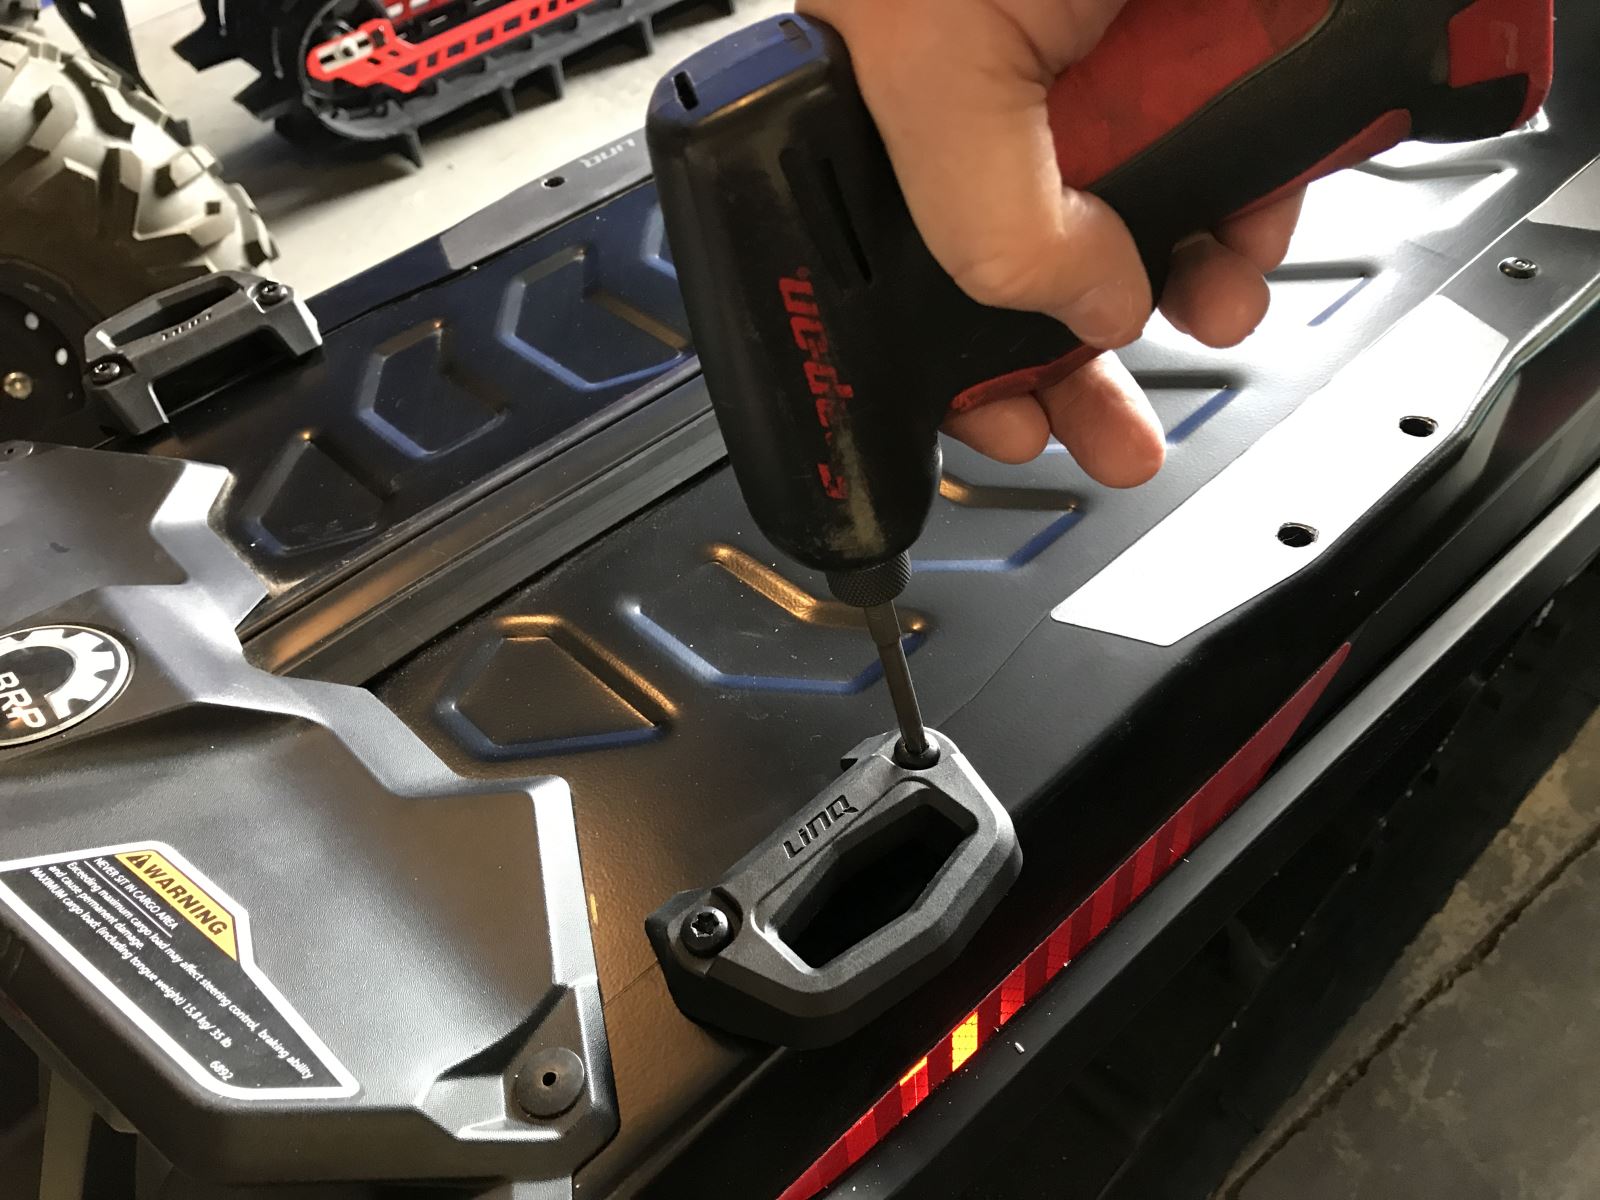
Attach your mounting hardware and insert your screws. You will likely need a wrench on the underside to hold the nut pins from spinning until there is some tension on them. Once secure, tighten them according to specs.
Once the mounting hardware is secure, you simple attach your tunnel bag and you are ready to go.